If you've never heard of databending, it's when you open up a raw image file in one program or another, then basically break it little by little until it looks cool. It's very popular in glitch art (the art of exploiting graphical glitches to make cool things) and I've always been intrigued by it.
Since my last post, I've been mostly messing around with my new MIDI keyboard and various DAWs. I used to make a lot music before I started college, it was and still is my favorite hobby, but I've been ignoring it for years while exploring other art forms and trying to get a "real job." I realized making music really relaxes me and it's something I can't stop doing, so I'm back at it. At some point, I'll begin posting what I've been working on, but right now there isn't much to hear, as I've spent most of my time learning my new equipment and audio production programs.
Today, I wanted to do something visual. While looking in to databending, I learned it could be done in Adobe Audition. You basically open the raw image in Audition as a .WAV and add effects to it like you would normally...delay, reverb, distortion, etc. The effects to the WAV file affect the original image in various ways depending on what you do. Since there's no realtime feedback for this, you just have to try something, save it out, and hope it looks cool. Here are some that I thought looked cool...
I had this picture of Old Colchester Rd. in Essex Jct. VT after a blizzard that I kind of liked, so I thought I'd use that to start.

The first thing I tried was selecting a bunch of small parts of the file and adding a subtle delay effect to them...
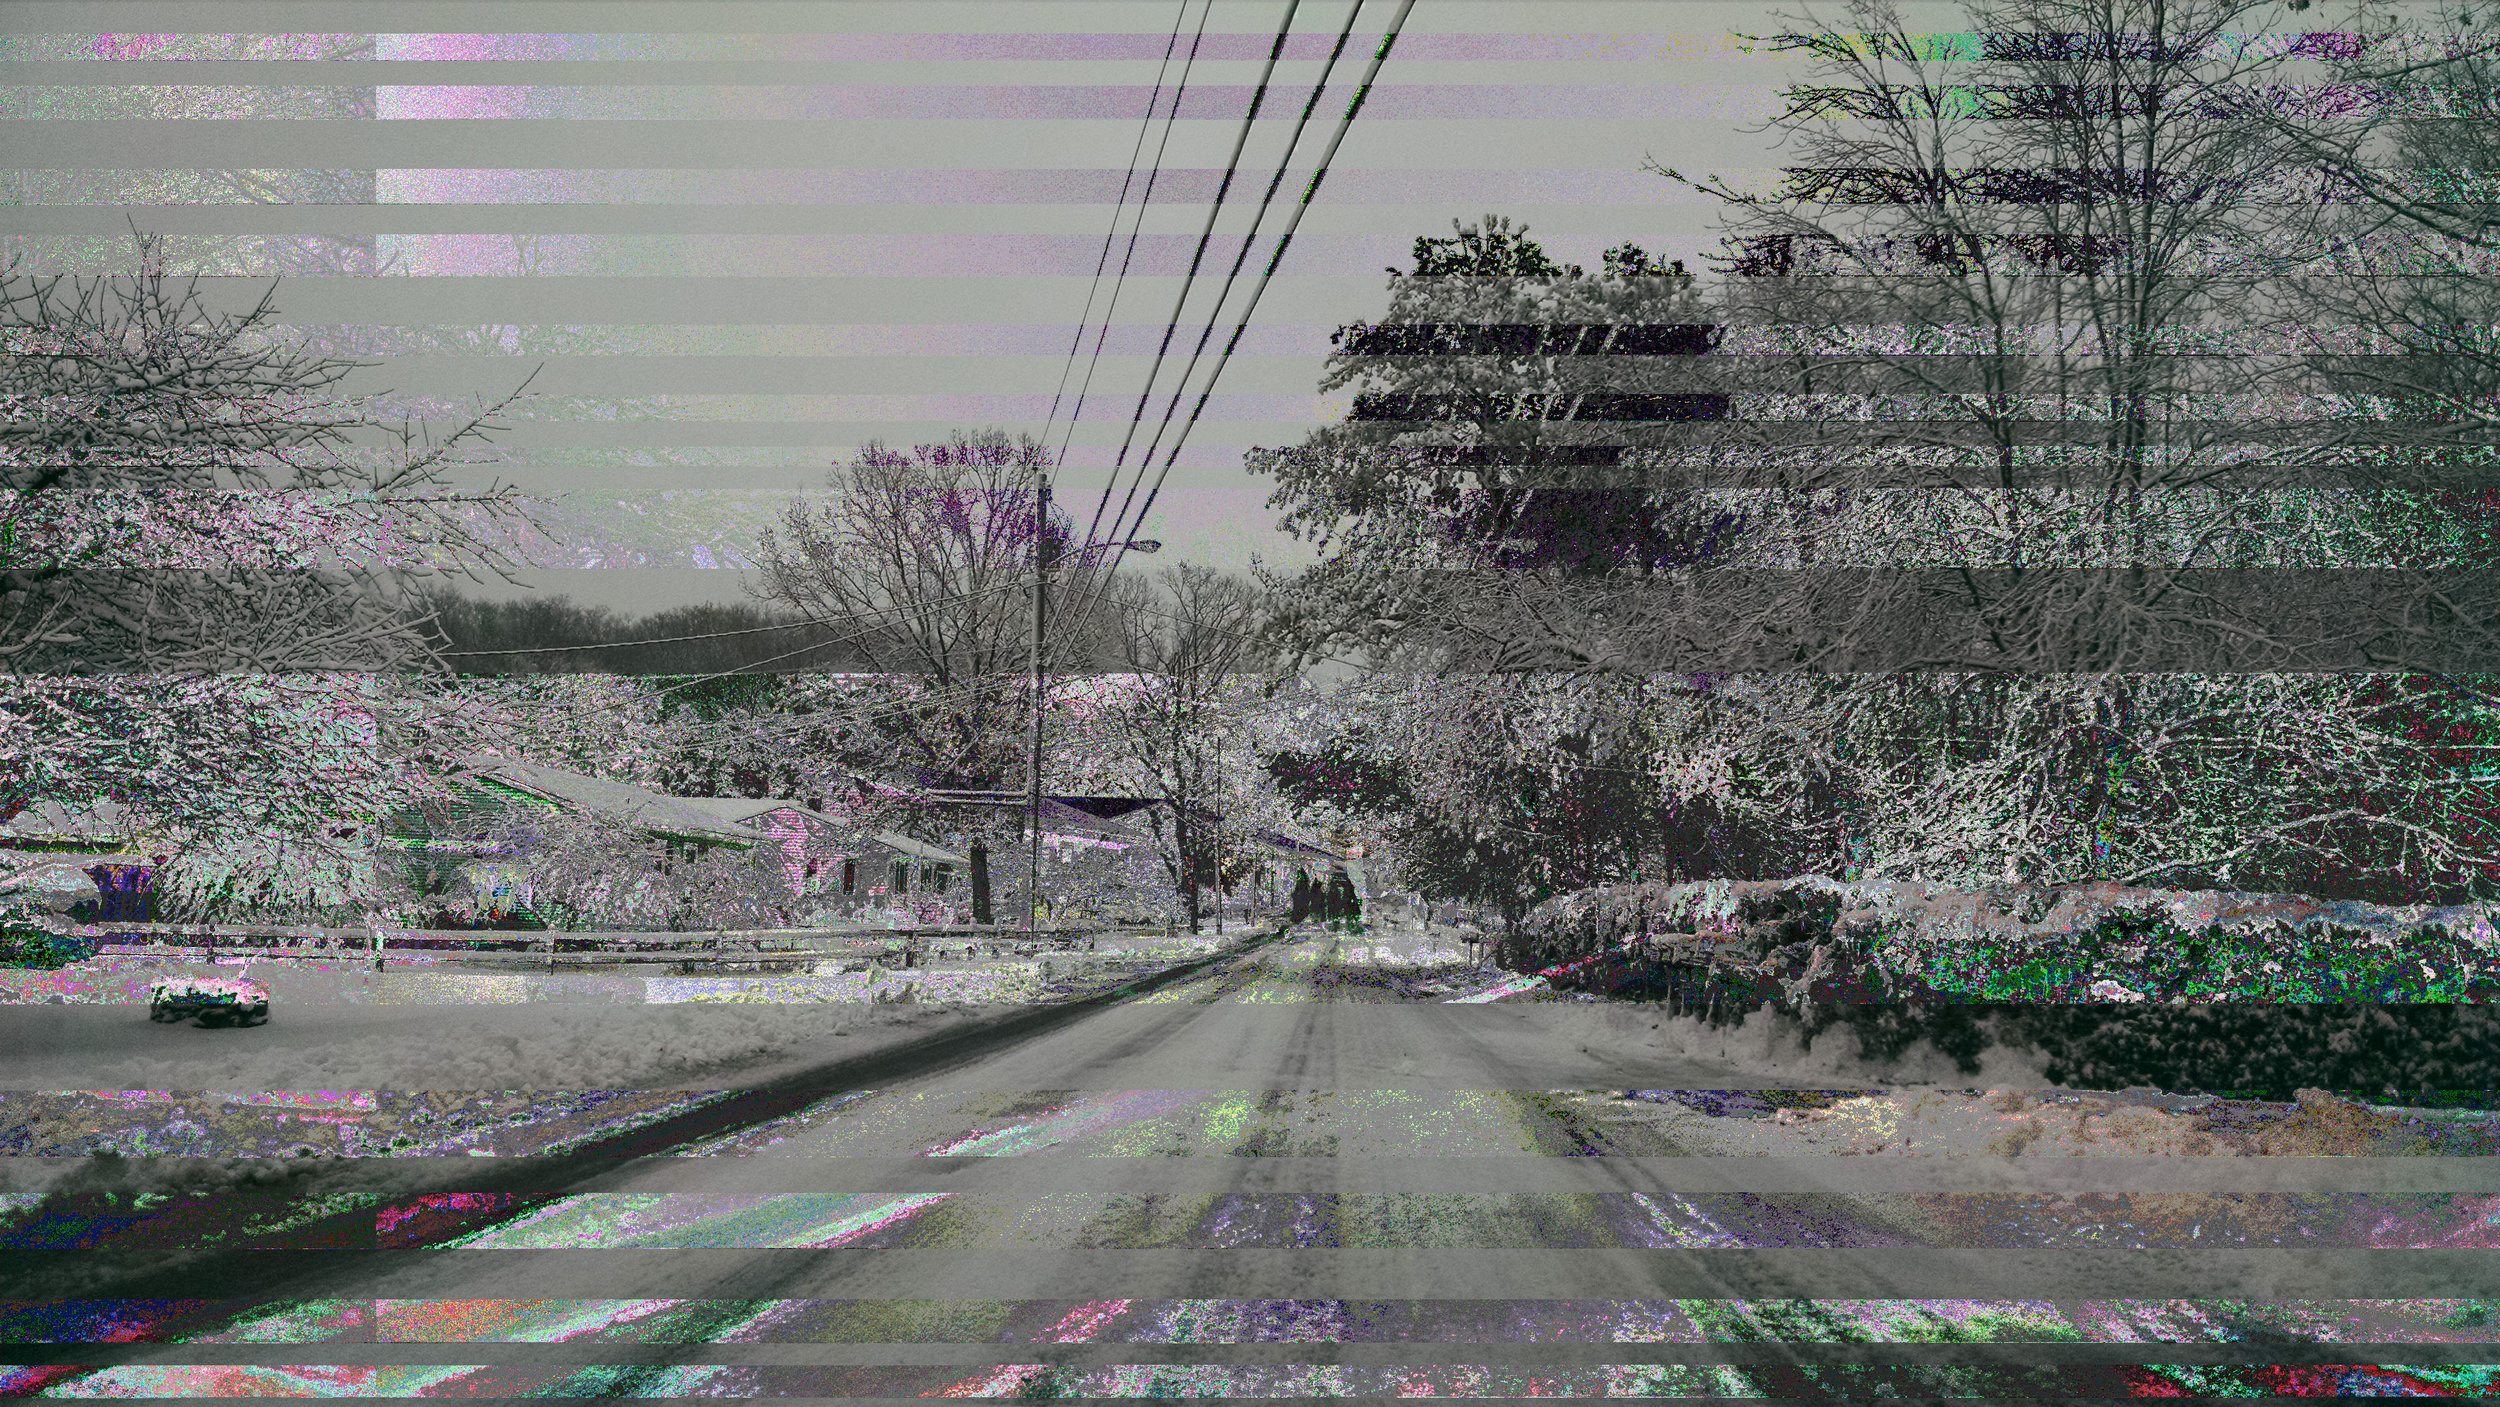
I got about what I expected. Each slice that looks broken is one section that I added delay to. I couldn't figure out how to make the lines go vertically, I think that might have to be done another way, like in a text editor or something. That or it's just a trick I haven't figured out yet in Audition. Either way, I was happy to have my first databending experience under my belt and now I had the basic pipeline down and was ready to get weird with it...
From there, I just started trying out everything that seemed like it might give an interesting result. Using Cut/Copy and Paste on different sections of the audio did basically what you'd expect...

Here's where I noticed that despite the original picture's general lack of color, the image was becoming quite colorful. I decided to try another effect that I thought I could guess the outcome of, in this case I used "reverse" and "inverse" on the file and this time, I didn't actually get what I expected...

I assumed I'd get an upside-down image with inverted colors, like a film negative. What I got was infinitely cooler, but still confusing. After digging around a bit, I noticed that I had been importing the raw data with only one audio channel, meaning I was basically working in mono instead of stereo. So with that in mind, I re-imported the file with 6 channels, just to see what happened. This time I got more like what I expected...

That's more like it...although I think the first one was way cooler. Either way, it was good way to learn what happens when you mess with the amount of audio channels.
From here on out, I kept it at 6 channels, besides this last example, I found things looked generally more awesome with 6 channels. With this next one, I added a slight reverb effect. I really liked the result. To show what happens when you add more reverb, I did another where I selected the middle of the file and added even more...
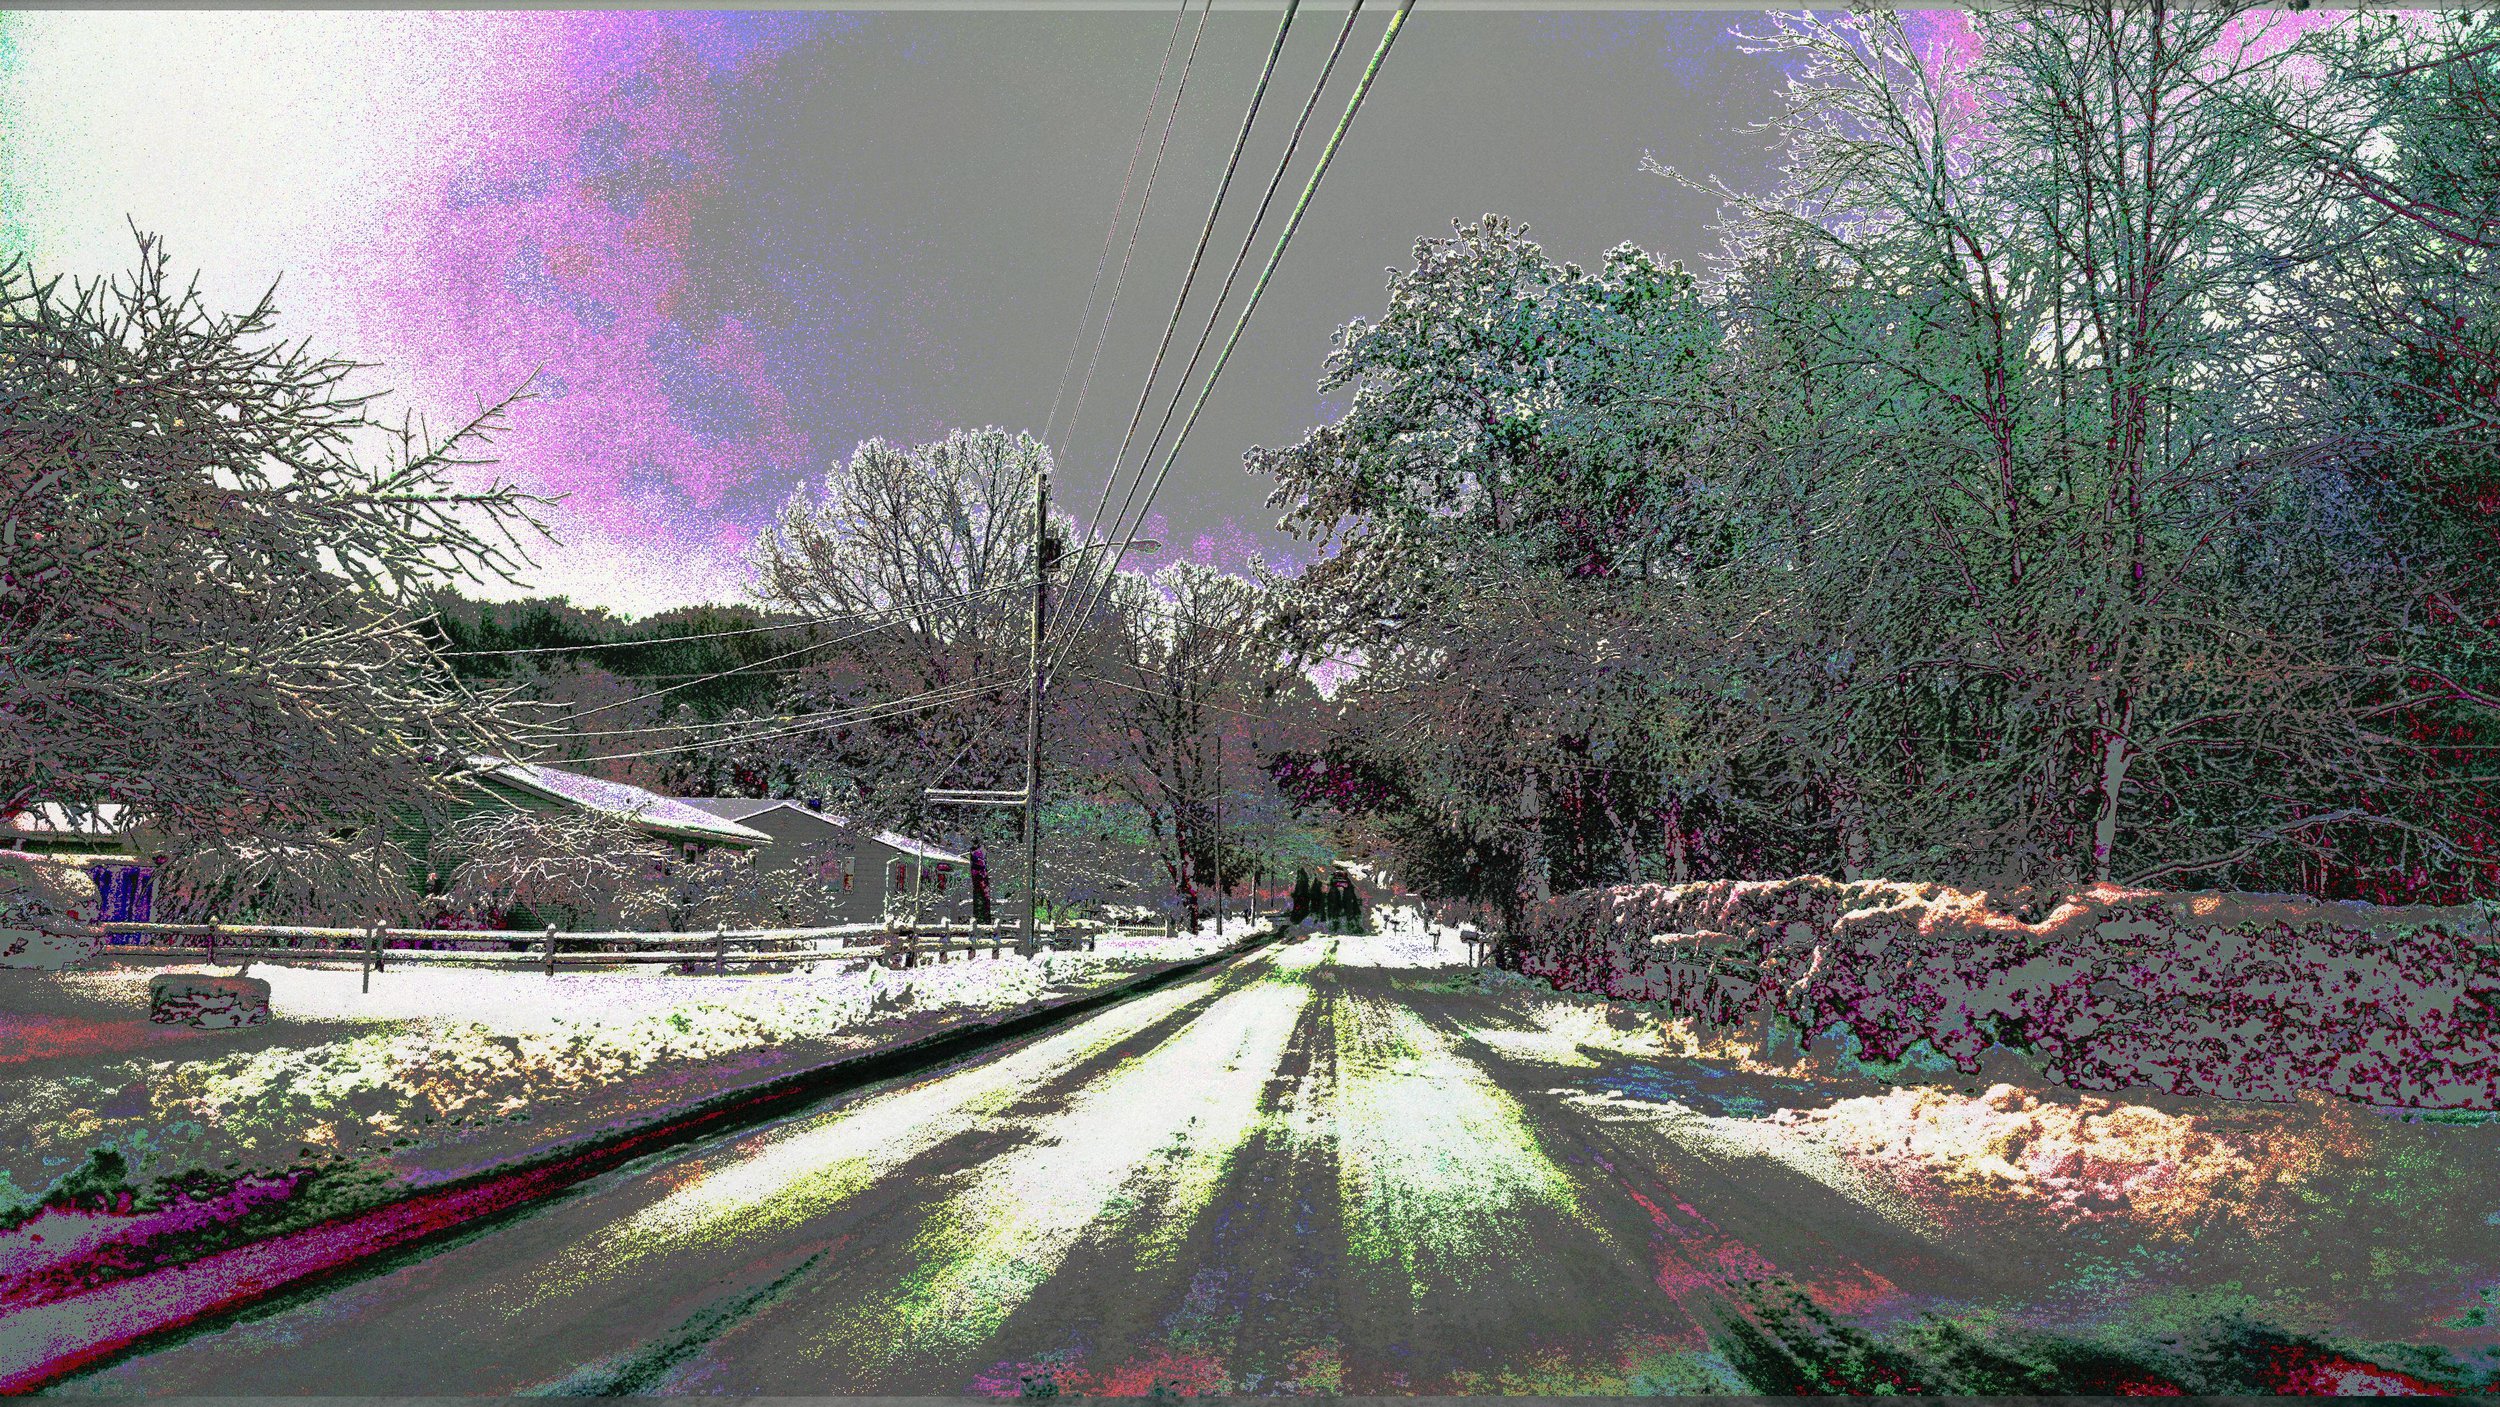

After more experimentation, I got the one I think I like the most. It was made by just adding a tube compressor effect to the whole file. I think it made for a result that mimics real photo editing effects. It's subtle, but still interesting. At this point, I felt like I was getting the hang of it and could see how I could incorporate this method in to more of my art.

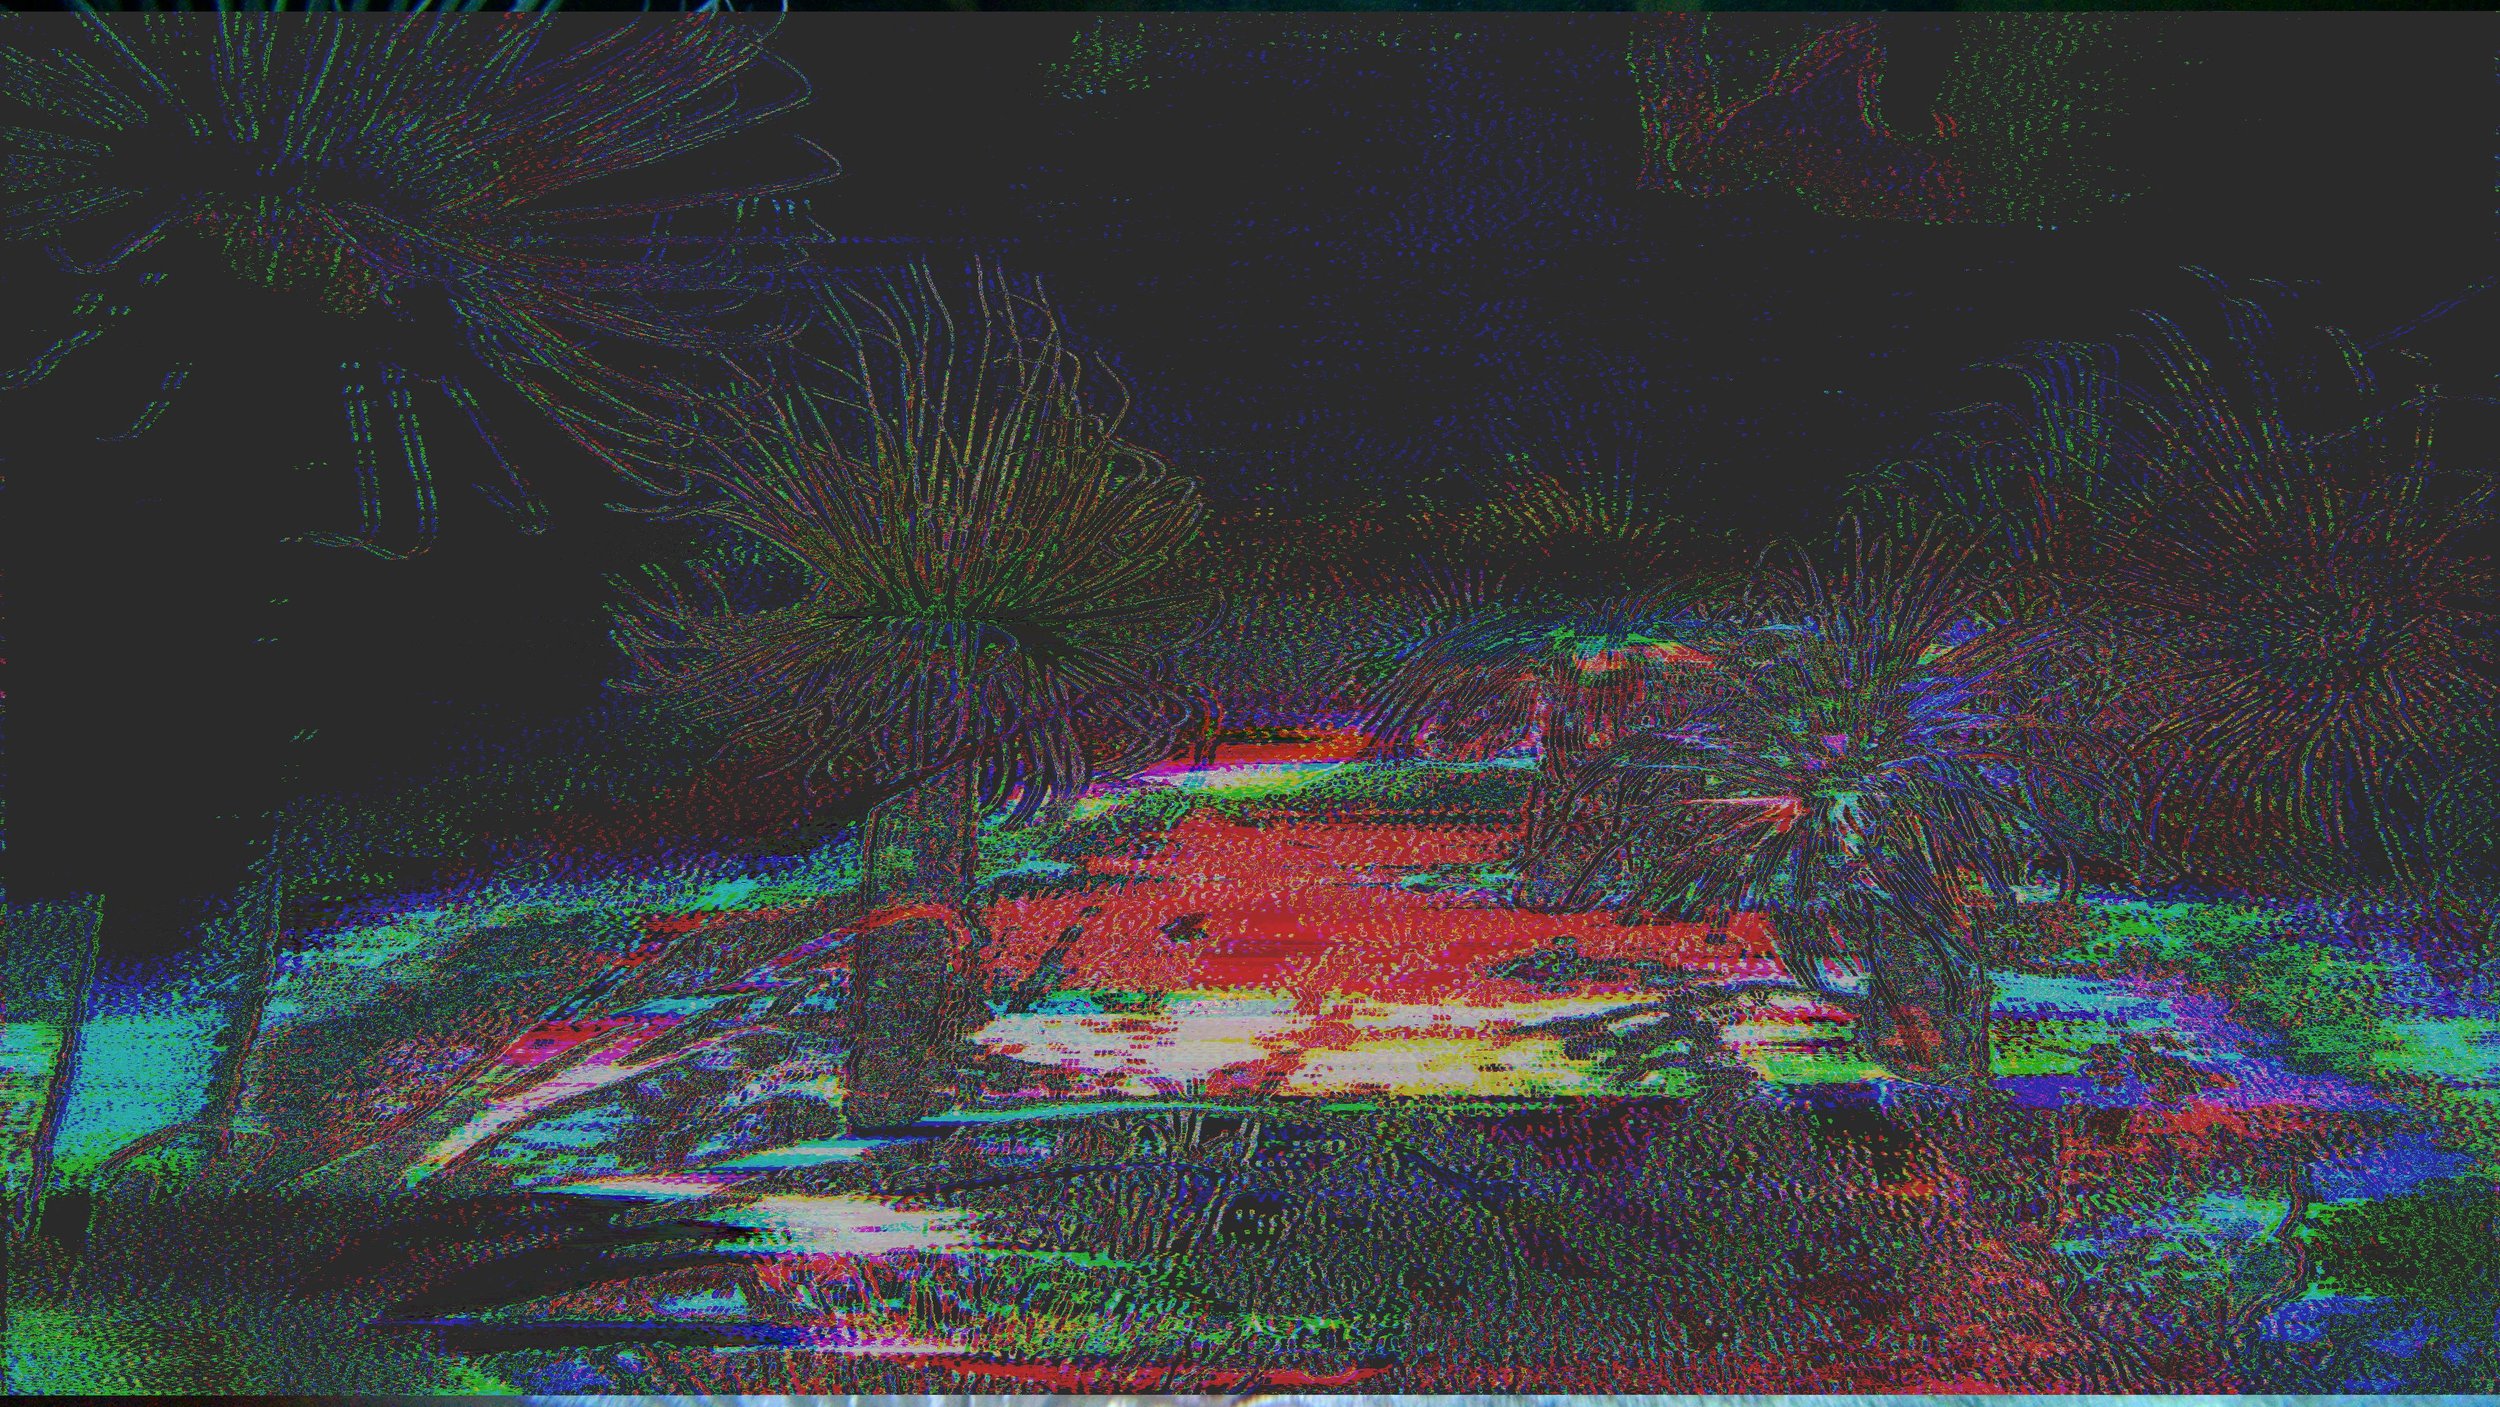
Since I spent so much time on this mostly black and white picture, I wanted to try it with something that already had a lot of color. I had this picture from my last visit to the Monte Ray Aquarium of some kind of sea...plants? creatures? I have no idea....either way, it was cool and I wanted to make it cooler...

First I tried what I did on the first image, a simple delay.

Pretty neat, but kind of hectic...I wanted to try to get something more subtle, like the last image of the snowy road. I tried messing with a 20 band equalizer, just kind of randomly moving the sliders and seeing what happened. Here are three different results that I liked...


I really liked what was happening, but it was still too much, I wanted some subtle effects that kind of mimicked photo filters, that's when I discovered "stereo expander." It lets you adjust what channel the sound comes from and when. When applied to an image, it gives you a really nice, subtle effect, that doesn't take away from the original too much, but still adds something interesting...


So now I had a pretty good grasp on things. I learned that subtly is key. The more you fuck with the WAV file, the more fucked up the image is. Makes sense when you think about it, but having never edited an image in an audio production program, I wasn't sure how it worked at first. I feel like I'll be doing this a lot in my art, I plan to do another post where I combine databending with classic photoshopping, I think it'll make for some really cool art.
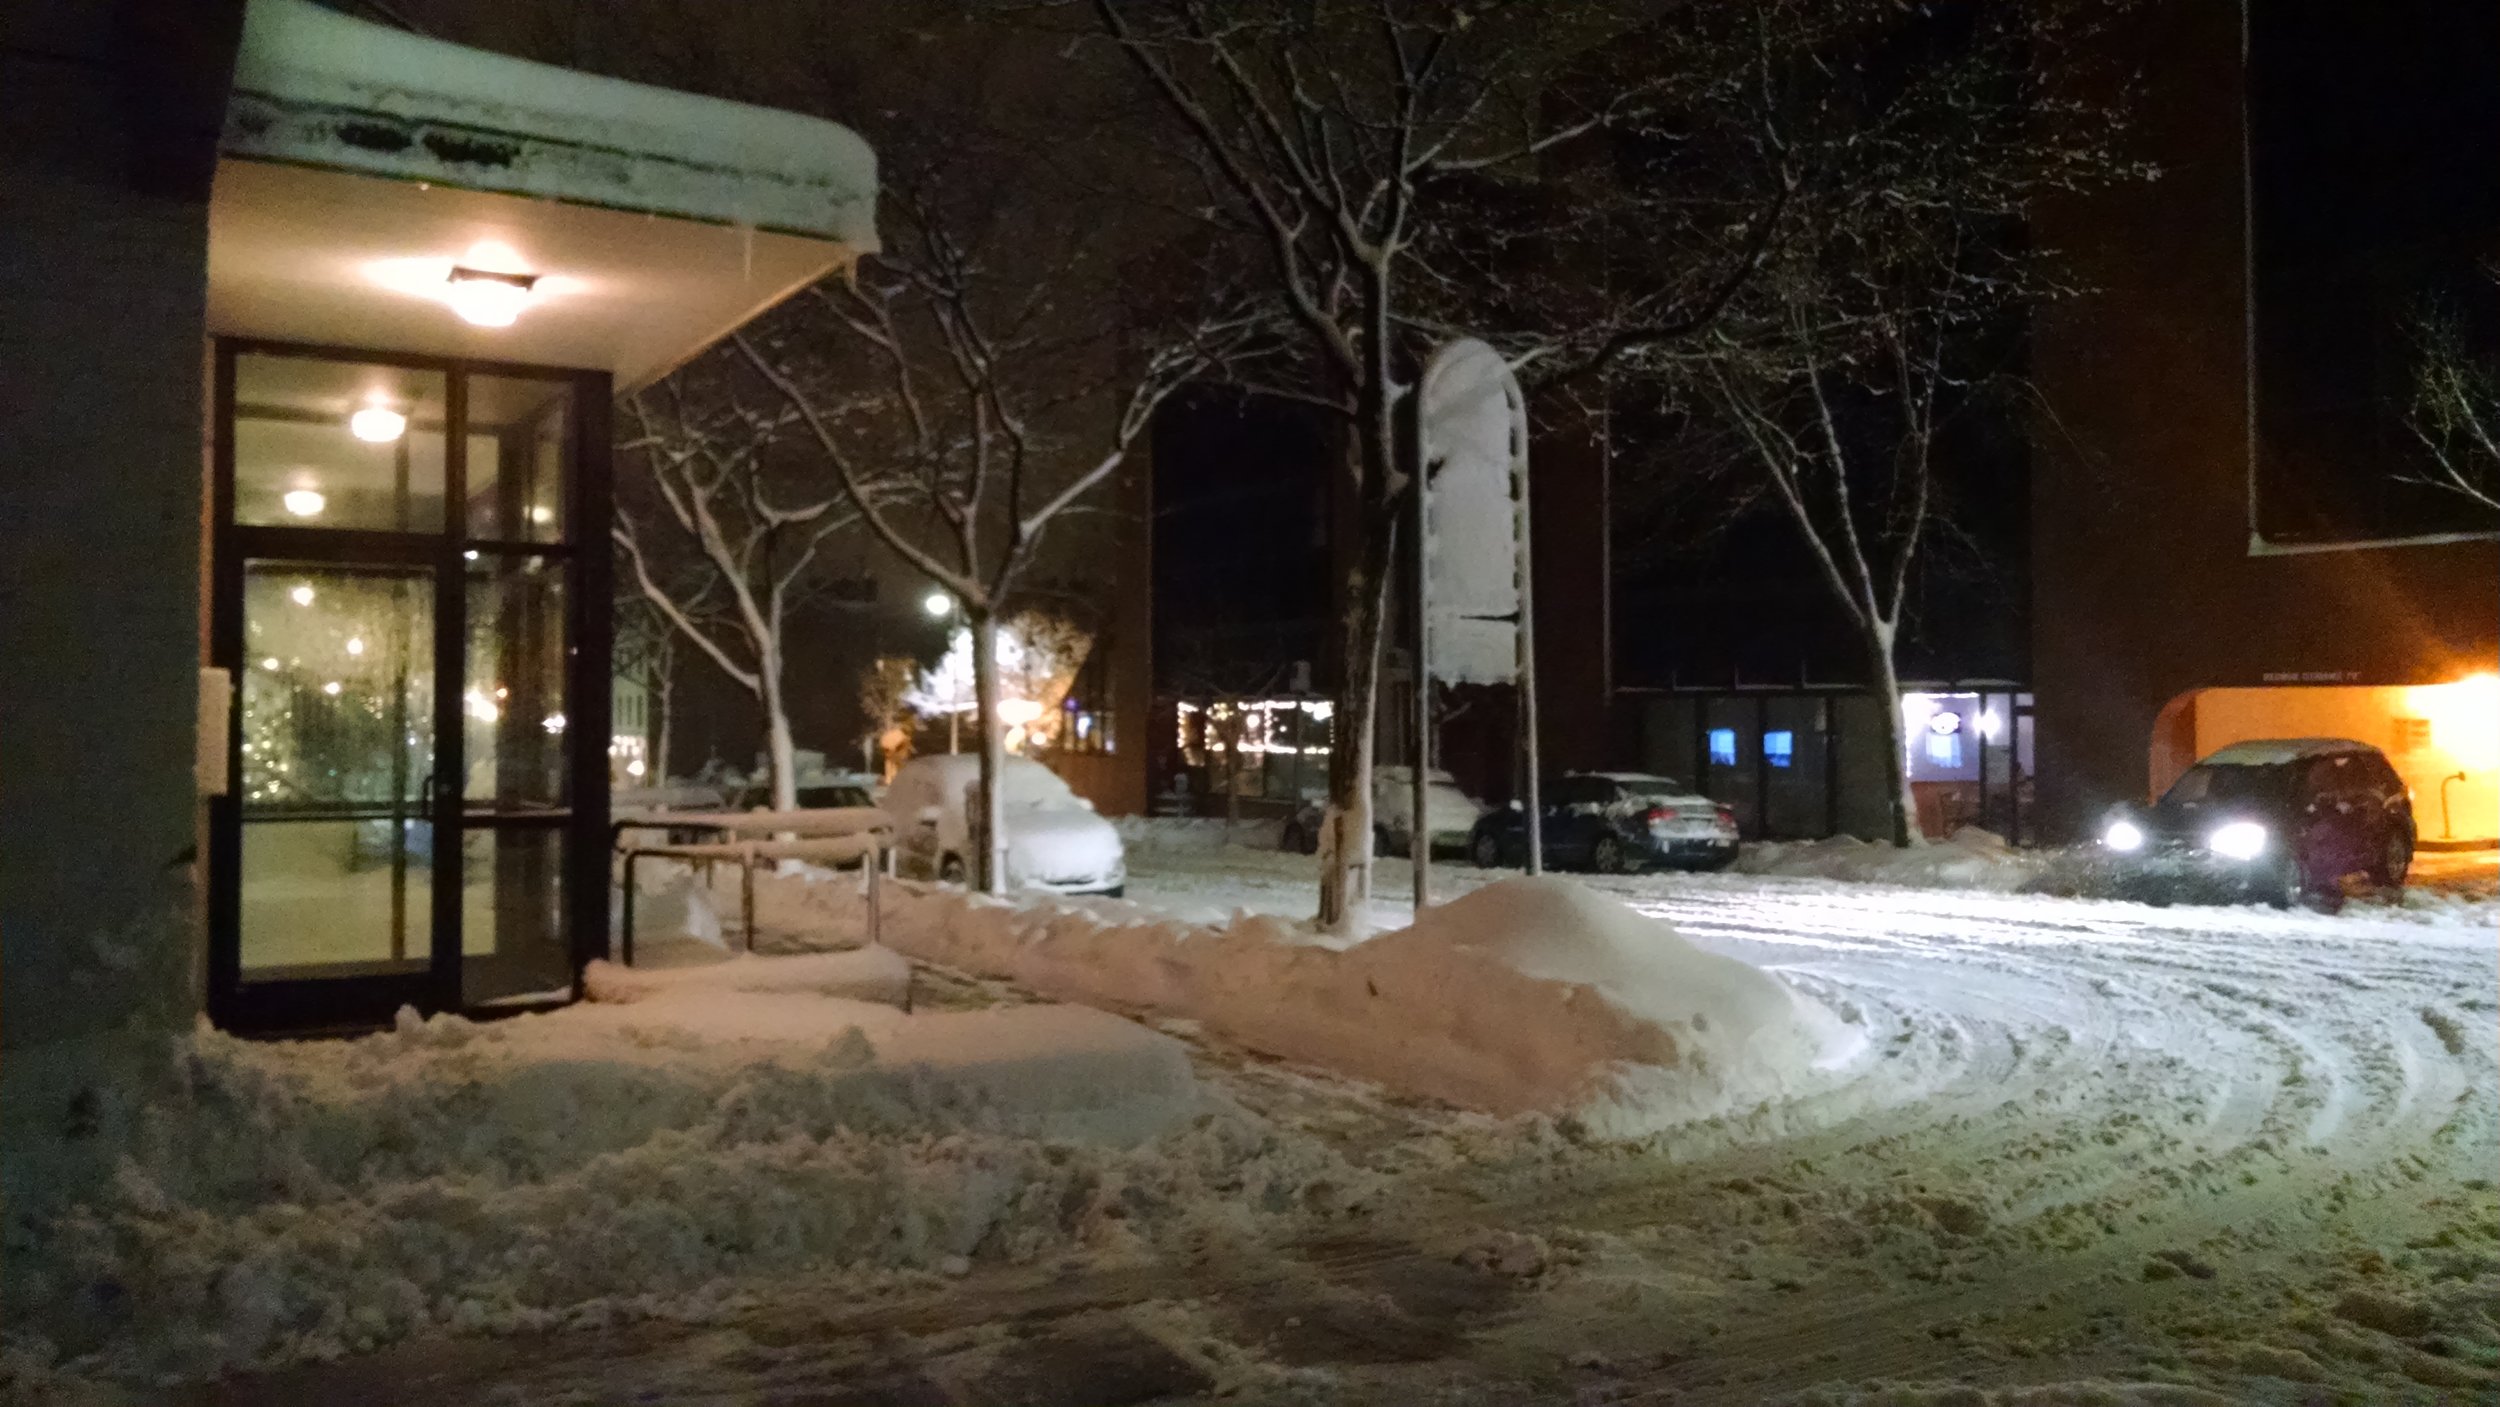
Until then, I leave you with this image I took at work during another VT bizzard in downtown Burlington...
I took what I learned and started just doing whatever felt right. I used multiple effects on each of these, but I like them all for different reasons.


And lastly, my favorite one from the day...this was done using the stereo expander and a vocal enhancer...

I really liked this...like a lot. Like I don't want to do other stuff now...I'm going to get more in to different methods and start using it to supplement my Photoshop work. Be sure to check in for more databending shenanigans in the future